
Astrophotography is the art of capturing night sky images—everything from individual stars to entire galaxies. It combines science, skill, and a bit of patience. It is like hunting for cosmic treasure, except your camera is your net.
Why Star Photography Is So Fascinating
Ever looked up and felt tiny under a sky full of stars? That’s the magic Astro photographer’s chase. It’s not just about the stars—it’s about capturing something timeless and otherworldly. Plus, there’s nothing more extraordinary than showing off a photo of the Milky Way you took yourself.
Getting Started with Star Photography
Essential Gear You Need
Let’s get your toolbox ready. Shooting stars isn’t just point-and-click—your gear makes all the difference.
Camera Types (DSLR/Mirrorless)
You’ll want a DSLR or mirrorless camera that allows manual control. Even entry-level models can do the job.
Tripod
Your tripod is your best friend here. Since your shutter will stay open for seconds, a sturdy tripod is a must to avoid blurry messes.
Intervalometer or Remote Shutter
This little gadget lets you take shots without touching the camera—critical for avoiding shakes during long exposures.
Choosing the Right Lens
Go wide. A wide-angle lens (14mm–24mm) lets you capture more of the night sky and works better in low light with its wider aperture (f/2.8 or lower is perfect).
Planning Your Star Photography Session

Check the Weather
Clear skies only, please! Use apps like Clear Outside or AccuWeather to avoid clouds ruining your shot.
Moon Phases Matter
A bright moon is your enemy in star photography. Aim for nights around the new moon for the darkest skies.
Light Pollution & Dark Sky Locations
City lights kill star photos. Head to dark sky parks or remote countryside for the best results. Use Light Pollution Map or Dark Site Finder to plan.
Using Apps to Predict the Best Time
Apps like Stellarium, Sky Guide, and PhotoPills help you find when and where stars or the Milky Way will be most visible.
Best Camera Settings for Star Photography
Manual Mode Is Your Friend
Forget auto—manual mode gives you total control, which you need.
ISO, Aperture & Shutter Speed Tips
- ISO: Start at 1600 and adjust.
- Aperture: Wide open (e.g., f/2.8).
- Shutter Speed: Use the 500 Rule—500 divided by your lens focal length = max shutter time in seconds (e.g., 500/20mm = 25s).
White Balance & Focus Techniques
Set the white balance to around 4000K for natural tones. Focus manually—autofocus won’t help in the dark. Use live view and zoom in to a bright star to nail sharpness.
Composition Techniques
Rule of Thirds & Leading Lines
Good composition separates a snapshot from a stunner. Use the rule of thirds and natural lines like rivers or roads to guide the viewer’s eye.
Including Foregrounds for Depth
Silhouetted trees, mountains, or tents add interest and context. Don’t just shoot the empty sky!
Star Trails vs. Static Stars
Want that dreamy circular star trail? Use a series of long exposures stacked together. For pinpoint stars, keep your shutter time short.
Post-Processing Star Photos
Software Options (Lightroom, Photoshop)
Lightroom is great for organizing and basic edits. Photoshop shines for deeper edits like stacking and noise reduction.
Basic Editing Workflow
- Adjust white balance
- Increase contrast
- Bring out shadows and reduce highlights
- Add clarity and sharpness
Reducing Noise & Enhancing Stars
Use noise reduction sparingly. Overdoing it blurs the details. Boost contrast between stars and sky to make them pop.
Advanced Star Photography Tips
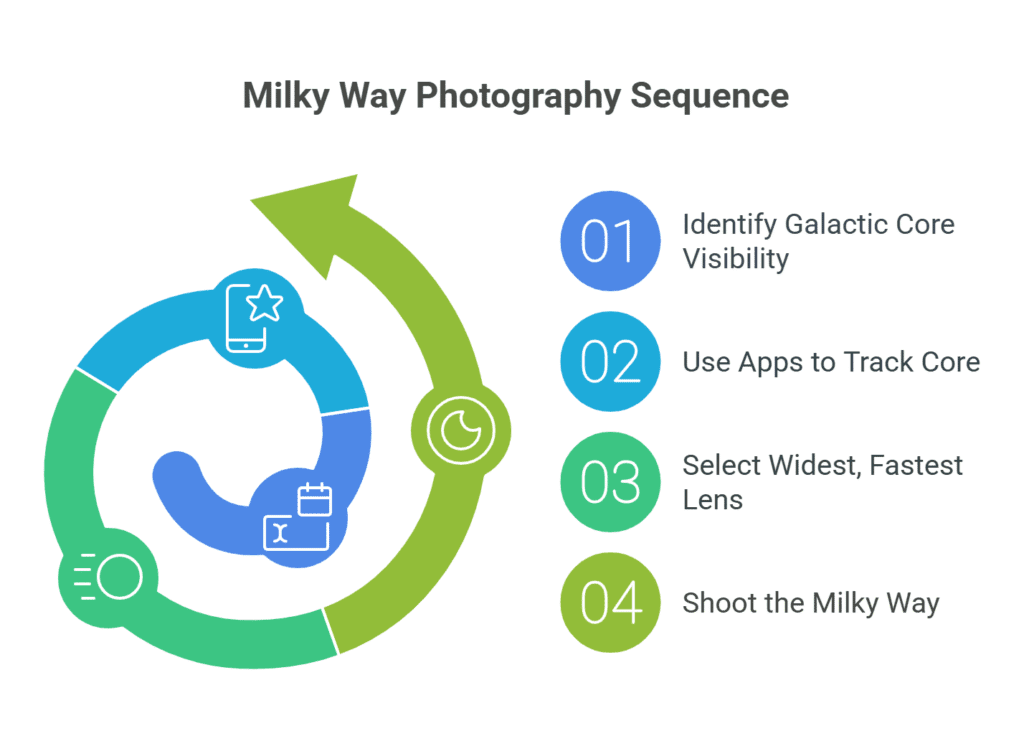
Shooting the Milky Way
Find when the galactic core is visible (typically March–October). Use apps to track it and shoot with the widest, fastest lens.
Capturing Meteor Showers
Time it during events like the Perseids or Geminids. Use continuous shooting and hope to catch that fleeting streak.
Stacking Images for Better Quality
Use software like DeepSkyStacker to combine multiple images, which reduces noise and improves detail.
Common Mistakes to Avoid
Overexposure
Too long of a shutter speed, and your stars become streaks. Use the 500 Rule to avoid this.
Shaky Tripod
Always weigh down your tripod and make sure it’s on solid ground. Even a breeze can ruin your shot.
Not Shooting in RAW
JPEGs lose data. RAW files allow you to fix exposure, colour, and more during editing.
Shooting stars isn’t just for NASA. With the right gear, planning, and creativity, anyone can take jaw-dropping photos of the night sky. It’s a journey of trial and error and many “wow” moments. So pack your gear, head out under the stars, and let the universe be your canvas.
Frequently Asked Questions
What is the best time to photograph stars?
The best time is during a new moon with clear skies, ideally a few hours after sunset when the sky is darkest.
Can I take star photos with a smartphone?
Yes, with modern phones and manual camera apps, you can. Just use a tripod and a long exposure setting.
What ISO is best for stars?
Start at ISO 1600–3200 and adjust based on how dark your location is and how much noise your camera can handle.
How do I avoid blurry star images?
Use a sturdy tripod and remote shutter, and follow the 500 Rule for shutter speed to keep stars sharp.
What lens is best for astrophotography?
A wide-angle lens with a fast aperture (f/2.8 or wider) is ideal for capturing more of the sky and letting in more light.