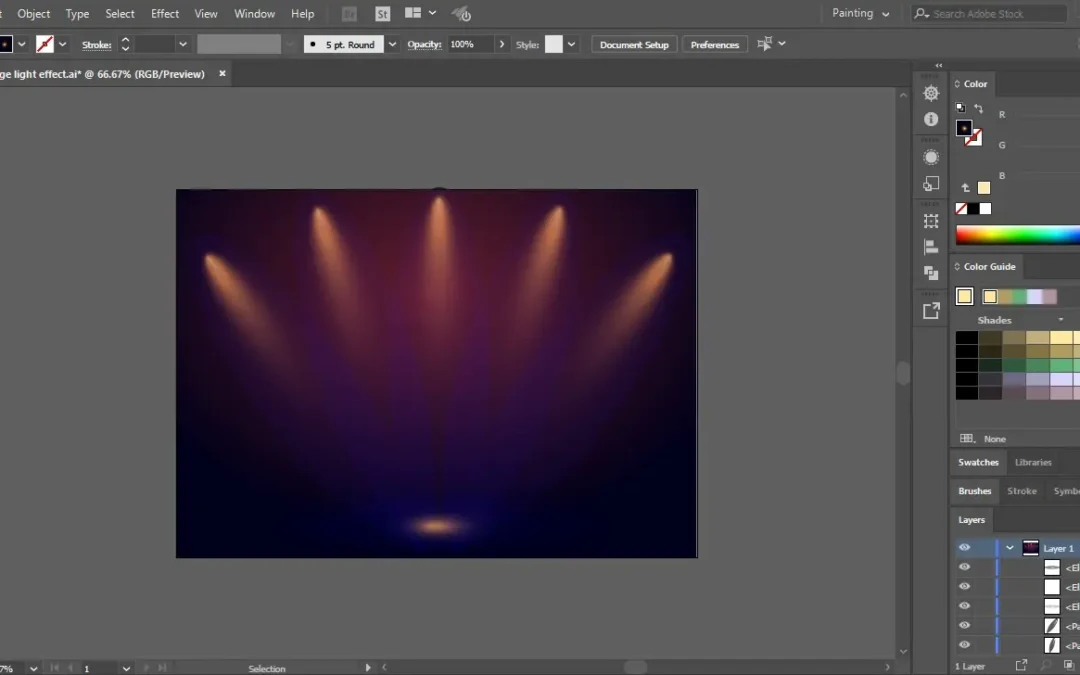
Creating a realistic spotlight effect in Photoshop can transform your images, adding depth, drama, and focus to your subject. Whether you want to draw attention to a specific area of your photo or enhance the overall ambiance, this technique is a valuable tool for photographers and digital artists. In this step-by-step guide, we’ll walk you through the process of creating a realistic spotlight effect in Photoshop.
Step 1: Open Your Image
Start by opening your image in Adobe Photoshop. Choose a photo that could benefit from a spotlight effect, such as a portrait or a still life shot. Make sure your image is well-exposed and contains the subject you want to highlight.
Step 2: Duplicate the Background Layer
In the Layers panel, right-click on the background layer and select “Duplicate Layer.” This creates a copy of the original image, which allows you to work on the spotlight effect without altering the original.
Step 3: Create a New Layer
Next, click the “New Layer” button in the Layers panel to add a new, empty layer on top of your duplicated background layer. This is where we’ll create the spotlight effect.
Step 4: Choose the Elliptical Marquee Tool
Select the “Elliptical Marquee Tool” from the toolbar. You can find it by right-clicking on the “Rectangular Marquee Tool.” We’ll use this tool to create the shape of our spotlight.
Step 5: Draw the Spotlight Shape
Click and drag to create an ellipse on your image, encompassing the area you want to spotlight. This should be roughly centered on your subject. Don’t worry if the shape isn’t perfect; we can refine it later.
Step 6: Feather the Selection
To make the spotlight effect appear more realistic, you’ll need to feather the selection. Go to “Select” > “Modify” > “Feather.” A dialog box will appear; enter a value between 50 to 100 pixels, depending on the size and resolution of your image. This feathering will make the spotlight’s edge appear soft and gradual.
Step 7: Add a Solid Color Fill Layer
With the selection still active, go to the “Layer” menu and choose “New Fill Layer” > “Solid Color.” Select a color for your spotlight. Typically, white or a pale-yellow works well for a spotlight effect. Click “OK” when you’re satisfied with your choice.
Step 8: Adjust Layer Blending Mode
In the Layers panel, set the blending mode of your Solid Color Fill Layer to “Overlay.” This blending mode will allow the underlying image to show through, creating a realistic spotlight effect.
Step 9: Refine the Spotlight Shape
To fine-tune the shape and size of your spotlight, select the Solid Color Fill Layer in the Layers panel. Then, click on the mask thumbnail (the white box) to activate it. Use the Brush Tool with a soft brush and black color to paint over any areas you want to hide or adjust in your spotlight.
Step 10: Adjust Opacity
To control the intensity of the spotlight effect, you can adjust the opacity of the Solid Color Fill Layer in the Layers panel. Lowering the opacity will make the spotlight subtler, while increasing it will make it more pronounced. Experiment with different opacity levels until you achieve the desired result.
Step 11: Add a Vignette (Optional)
If you want to further enhance the spotlight effect and draw more attention to the center, you can add a vignette. Create a new layer, select the Elliptical Marquee Tool again, draw a large ellipse around the edges of your image, feather it, and then fill it with black. Set the blending mode to “Multiply” and adjust the opacity to your liking.
Step 12: Final Adjustments
To make your spotlight effect even more realistic, you can make additional adjustments to your image. This might include adjusting contrast, brightness, and color balance. Use tools like Levels, Curves, and Hue/Saturation to fine-tune your image and make the spotlight blend seamlessly.
Conclusion
Creating a realistic spotlight effect in Photoshop can add depth and drama to your images, making your subject pop and capturing the viewer’s attention. By following this step-by-step guide, you can easily master this technique and apply it to your photos. Experiment with different shapes, sizes, and colors for your spotlights to achieve the perfect effect for your images. With practice, you’ll be able to create stunning visuals that leave a lasting impression.