Professional posing turns stiff stances into confident, natural looks. The 45-degree rule slims your figure by using a better angle for the lens. Candid movement keeps you from looking like a robot by catching your real energy. The “turtle” trick defines your jawline the second you move your chin. High-tech mobile settings give your photos a pro vibe through automatic processing. iPhone Portrait Mode pops you out of the background, while grid lines help you nail the composition. Pulling frames from 4K video lets you grab the perfect clear shot.
Good gear keeps your pictures sharp. A tripod and remote stop the “shutter shake” that ruins your focus. Natural light hides skin flaws and makes your eyes glow. Window light adds 3D depth by using soft shadows to sculpt your face. Golden hour gives your skin a warm, healthy look that feels like magic. A clean background acts like a frame to keep eyes on you. Beach sand works like a giant reflector to brighten up your features.
Mobile apps polish your photos with smart AI adjustments. Exposure tweaks fix shots that are too dim or totally blown out. Subtle retouching cleans up tiny spots but keeps the real you front and center.
How do pictures of yourself improve through professional posing?
Pictures of yourself improve through professional posing by transforming awkward, stiff expressions into dynamic, confident, and natural representations, utilizing specific techniques and tools of the trade gleaned from models and extensive experimentation.
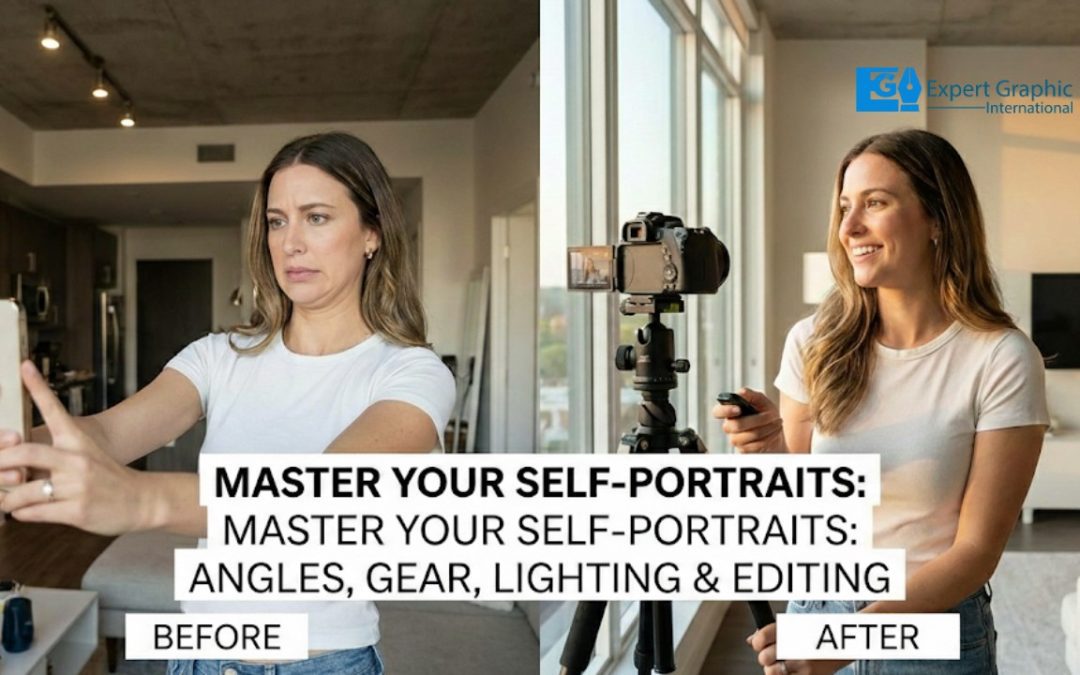
Professional posing techniques address the common problem that people struggle with genuine expression when in front of a camera, which often leads to fake smiles, unnatural poses, and looking inexperienced. Specifically, professional posing helps eliminate these issues and enhances appearance by:
- Using specific angles, intentional posture, and subtle shifts to create looks that are slimming, confident, and dynamic.
- Accentuating your best features by intentionally avoiding stiff, straight-on stances.
- Creating necessary space (such as between the arms and torso) and engaging the core to improve overall height and strong posture.
- Utilizing genuine eye contact and expression to establish a powerful connection, making the subject look more natural and powerful than they would in stiff, direct poses.
Why do pictures of yourself look slimmer using the 45-degree rule?
The primary reason pictures of yourself look slimmer using the 45-degree rule is due to the principles of perspective and dimension in photography, which utilizes body angling to reduce visible width. The technique requires turning your feet and body approximately 45 degrees away from the camera instead of standing straight-on, effectively twisting the body to the slimmest angle possible relative to the camera’s view. This small adjustment reduces the overall visible width presented to the lens and adds depth to the two-dimensional image, creating the illusion of a more elongated and thinner figure, in sharp contrast to a straight-on shot which can flatten the subject’s appearance.
How do pictures of yourself look natural using candid movement?
Pictures of yourself look natural when using candid movement by focusing on authentic, spontaneous actions that reveal your personality rather than relying on stiff, staged poses. Candid photography captures real, raw energy, making the photograph seem alive and letting the viewer experience the subject’s emotions. To achieve this flow and avoid looking like a static robot, you should move freely and interact with your environment.
Key strategies for capturing natural, candid photos using movement include:
- Engage in continuous, unrestrained motion: Move in any way you can, such as walking towards or across the backdrop, swinging your arms back and forth, or shaking your hair. These movements bring out your personality.
- Use subtle, gentle prompts: Focus on natural actions like laughing, playing with props, or interacting directly with the surrounding environment.
- Incorporate common gestures: Perform motions such as buttoning a jacket or placing your hands in your pockets to capture those natural, “in-between moments.”
- Exaggerate movements slightly: For the benefit of the camera, make movements slightly exaggerated (such as taking bigger steps or offering bigger smiles) to ensure the authentic energy translates clearly.
- Focus on action over posing: The key is to forget about posing; instead, think about what you would naturally do and let your actions flow, taking continuous shots to catch spontaneous, authentic moments.
When do pictures of yourself gain jawline definition from the turtle-neck trick?
Pictures of yourself gain jawline definition from the turtle-neck trick instantaneously and immediately, the moment the pose is held while the photo is being taken. This posing technique, sometimes known as “The Turtle” or “Turtling,” works instantly because it creates a physical separation between your jawline and your neck, eliminating the bunching of skin that often causes a “double chin” effect in photos. To execute the technique, you project your head slightly forward, lift up with a long neck, and push your chin slightly forward and down while tipping your forehead toward the camera.
Why do pictures of yourself achieve professional quality with mobile settings?
Pictures of yourself achieve professional quality with mobile settings primarily because of the staggering advances in modern smartphone cameras and their sophisticated imaging capabilities. This high-level quality is chiefly driven by computational photography and automatic post-processing, which apply techniques traditionally reserved for professional photographers such as managing shallow backgrounds and optimizing low light performance to produce polished results without requiring the user’s manual expertise.
These modern mobile settings allow devices to capture scenes that often look comparable to those taken with a full-frame camera and F1.4 lens. Contributing to this quality are hardware and software enhancements including support for shooting in RAW, resolutions up to 50MP and beyond, multiple focal lengths, specialized shooting modes, and access to robust, nifty on-device editing applications.
How do pictures of yourself benefit from iPhone portrait mode and grid lines?
Pictures of yourself benefit from iPhone Portrait Mode and Grid Lines because these features dramatically enhance the composition and professionalism of the image. Portrait Mode creates a depth-of-field or “bokeh” effect, which is the ideal style for professional portrait shots; it captures the subject with sharp focus while intentionally blurring the background, ensuring the person stands out prominently. Furthermore, Grid Lines guide the user to apply the “Rule of Thirds,” which aids in placing the subject (such as the face) on strategic intersections. This technique results in balanced, dynamic, and visually appealing compositions, making the photos more engaging rather than just centered.
When do pictures of yourself stay clear with 4K video frame extraction?
Pictures of yourself extracted as still frames from 4K video stay clear when the original footage is recorded under specific conditions designed to minimize motion blur and maximize sharpness.
These conditions primarily involve camera settings that prioritize a clear still frame over the motion blur typically favored by the 180-degree rule for cinematic video:
- Recording the original footage with minimal motion blur.
- Using a fast or raised shutter speed, which helps nail sharpness in the final extracted photos, often necessitating a sacrifice of the 180-degree rule (where shutter speed is 2x the frame rate).
- Utilizing powerful and good lighting, which improves both the video quality and the subsequent photo clarity.
- Ensuring minimal compression of the original 4K footage.
How do pictures of yourself stay sharp using essential photography gear?
To keep pictures of yourself sharp using essential photography gear, you must implement several techniques focused on stability and optimized camera settings:
- Use a tripod for essential stability, which is a must for avoiding blur, especially when utilizing long exposures or slower shutter speeds.
- Eliminate camera shake caused by pressing the shutter button by using the camera’s self-timer mode (such as a 2-second timer) or a remote release. This allocated delay allows you to remove your hands and ensures the camera is free of movement when the photograph is taken.
- Optimize exposure settings by setting a fast enough shutter speed (following the rule of thumb of 1/focal length) and keeping the ISO low.
- Achieve precise clarity by selecting the lens’s sharpest aperture, typically between f/8 and f/11.
- Ensure the focus is sharpest where it matters most by utilizing single-point autofocus targeted specifically on your eyes.
- If a shot must be taken handheld, ensure your camera or lens has image stabilization activated, although a tripod is the definitive way to achieve maximum sharpness.
Why do pictures of yourself look stable with a tripod and remote?
Pictures of yourself look stable with a tripod and remote because these tools work synergistically to mechanically isolate the camera from human movement, ensuring sharp shots by eliminating physical vibration and camera shake. The tripod provides a rigid, three-point base that creates a stable equilibrium, removing involuntary micro-movements caused by handheld tremors, breathing, or heartbeat. This fixed support allows the camera to maintain a constant plane of focus and prevents light from blurring across the sensor during the exposure time.
Furthermore, the remote trigger (or self-timer/cable release) serves to prevent contact vibration. Even when the camera is securely mounted, the physical act of pressing the shutter button introduces enough force to cause mechanical vibration, often referred to as “shutter shock.” By using a remote, you capture the image without touching the device, ensuring the camera remains perfectly still and maximizing sharpness, a step that is particularly vital for long exposures where any movement would result in a significant loss of clarity.
How does natural light transform pictures of yourself?
Natural light transforms pictures of yourself by fundamentally adding dimension, mood, and realism. Diffused natural light, which is soft and evenly dispersed (rather than having harsh dark and bright spots), is particularly advantageous as it virtually erases imperfections, emphasizes the eyes, and makes the subject look younger and healthier while allowing skin to look natural rather than shiny. The quality of the light shifts dramatically throughout the day, ranging from harsh and contrasty during midday to soft and flattering during the golden hour or under overcast skies, which photographers can utilize to create effects like dramatic silhouettes.
To utilize natural light effectively, photographers must know the direction of the light source, often using elements like windows, shade, or the sky as a giant softbox for shaping portraits. Specific techniques for positioning the subject include:
- Backlighting: Positioning the subject with the sun behind them creates a backlight that casts appealing highlights around the hair; however, a reflector or fill flash must be used to adequately fill in shadows and light the face.
- Side Lighting: Placing the subject with the sun positioned to the side and slightly behind them helps add dimension to the image.
- Avoiding Direct Frontal Light: Positioning the subject with direct sunlight shining into their face is usually discouraged because it causes them to squint and creates shadows around the eyes that can make them appear tired.
How does window light add depth to pictures of yourself?
Window light adds depth to pictures of yourself by creating natural shadows and highlights, which provide crucial dimension and contrast. The presence of these shadows is essential; shooting without them results in flat light, which severely limits an image’s depth. By strategically using window light, the two-dimensional photo is transformed into one that feels three-dimensional. This effect is maximized when you position yourself at an angle to the window, allowing the directional light to sculpt your features and enhance form, rather than relying on flat, direct illumination.
How does a clean background frame pictures of yourself?
A clean background frames pictures of yourself by acting as negative space, which isolates you as the sole subject, similar to a canvas for a painting. By keeping the background clutter-free and non-distracting, it ensures viewers focus intently on you, the focal point, and makes the photo’s intention clear. This clean effect achieves a minimalistic look that draws and holds the viewer’s eye directly to the subject. Practically, a simple framing element can be used, such as an unbleached muslin cloth, a light-colored article of clothing, or a white sheet.
Why does mobile editing polish pictures of yourself?
Mobile editing polishes pictures of yourself due to a combination of intentional, automatic software enhancements built into phone cameras and technical inconsistencies in how mobile applications handle color profiles.
The primary reason for the intentional “polish” is the use of built-in AI and processing software (such as Apple’s Smart HDR or Deep Fusion). These systems are designed to automatically adjust various image parameters to make photos look better by default for the average user, aiming for vibrant, appealing shots suitable for social media. These automatic enhancements commonly involve:
- Automatic adjustments to brightness, color saturation, and sharpness.
- Application of digital beauty filters, which may include whitening skin or thinning faces.
Additionally, the difference between the original capture and the display view can be caused by discrepancies in color management. Applications, particularly standard phone viewers, are often not “color managed.” If the original image uses a specific color profile (like ProPhoto), an unmanaged application will simply send the raw Red, Blue, and Green numbers to the display without correctly interpreting that profile. This error in interpretation changes the way colors are displayed, which can result in unwanted shifts for instance, boosting luminosity or often overexposing dark photos making the picture appear altered or calibrated “out of whack,” even though the underlying image file itself has not been modified.
How do exposure adjustments fix pictures of yourself?
Exposure adjustments fix pictures of yourself by controlling overall brightness and correcting common photographic errors. They work by balancing light, correcting issues like images being too dark (underexposed) or too bright (overexposed). This process is vital for self-portraits as it reveals crucial details in shadows and highlights, ensuring your face and features are not lost in darkness or “blown out,” leading to a clearer, more balanced, and professional-looking portrait.
To manually fix exposure issues, photographers typically use the camera’s exposure compensation dial, often guided by reading the histogram. If an image is overexposed (where pixels are pushed against the right side of the histogram or “blinkies” appear), negative compensation (e.g., -1.0) should be dialed in. Conversely, if the image appears underexposed (where pixels are pushed against the left edge, but there is plenty of room on the right side), positive compensation (e.g., +1.0) is necessary. This adjustment is repeated until the correct exposure is achieved.
When does subtle retouching maintain the authenticity of pictures of yourself?
Subtle retouching maintains the authenticity of pictures of yourself when it corrects minor technical flaws and enhances clarity and presentation without altering your fundamental appearance, character, or the core message of the image. The aim should always be viewed as enhancement rather than transformation, prioritizing the capture of the subject’s essence and personality.
Authenticity is preserved by ensuring fidelity to the original photograph, which means the retoucher must remain sensitive to the subject’s features, age, and identity. This approach involves working in small increments to smooth out blemishes and perhaps even out skin tone, but stopping short of creating a flawless or artificial result. Critically, subtle retouching must retain natural textures, particularly skin texture, as over-smoothing creates a plastic-like effect that strips away the integrity and reality of the image.
Should you use a beach setting to brighten pictures of yourself?
Yes,using a beach setting to brighten pictures of yourself is generally recommended, as the environment provides abundant natural light and reflective surfaces.
A beach setting helps create vibrant, glowing self-portraits because the open skies provide vast natural light, and the light-colored or white sand acts as a neutral reflector. This reflective sand bounces light directly back toward the subject’s face, working similarly to a white t-shirt or professional reflector to brighten the subject.
However, getting good photos at the beach can be challenging despite the abundant light. Photographers must contend with strong light bouncing around, the risk of harsh sun leading to deep shadows, and the need to work around other people, as the area is rarely empty.
Should you use golden hour to flatter pictures of yourself?

Yes,you should absolutely use golden hour to flatter pictures of yourself, as this time is considered fantastic and ideal for both portraits and self-portraits.
Golden hour (the period shortly after sunrise and before sunset) provides low, warm, and soft light that is highly advantageous for photography. This natural lighting minimizes harsh shadows on the face, enhances skin tones with a healthy, natural, and flattering glow, and creates beautiful rim light around the subject. The resulting pictures look softer and more natural, often adding a magical and dreamy feel.